

A Beginner’s Guide to Cryptocurrency Security: Setting 2FA with Google Authenticator

Looking to invest in cryptocurrency?
Then you should know the best practices you can use to protect your precious coins.
Contrary to the popular belief, the biggest drawback to cryptocurrency investment isn’t the extreme price volatility, but rather the safety and security of your crypto assets.
Due to the digital nature, cryptocurrencies are highly vulnerable to all kinds of security risks.
In this year alone, at least $1 billion worth of cryptocurrencies were stolen from crypto exchanges. It’s incredibly shocking.
If you’re determined to get into the crypto world, it’s imperative that you take the necessary measures to secure your coins, including but not limited to:
- Use a strong, long and hard-to-break password.
- Use a hardware wallet to store your cryptocurrency, especially for long-term HODLing.
- Never store your money on an exchange wallet. Just allocate enough funds necessary for a trade and then move them out as soon as the transaction is completed.
- Enable Two-Factor Authentication (2FA) across all exchange accounts that you have.
As you know, each of this safety measure deserves a more detailed discussion, which, however, cannot be pursued within the limits of this article. So today, I’ll talk specifically about how to enhance your cryptocurrency security by setting up Two-Factor Authentication on your exchanges accounts.
If you like, you can check out my other posts in this series which I’ve explained in detail about:
- How to secure your cryptocurrency? Cold vs Hot wallet
- How to setup a Ledger Nano S – A complete step-by-step guide
What is Two-Factor Authentication (2FA)?
Before setting up Two Authentication-Factor for your exchange accounts, it’s important to understand the basic of 2FA and how it works.
As its name implies, Two-Factor Authentication is an extra layer of security designed to prevent someone from accessing your crypto trading account.
Put simply, 2FA is a second layer of protection after password.
So why would you need a 2FA?
The idea of using 2FA is to make it harder for cybercriminals to gain access to your accounts.
Did you know that usernames and passwords- no matter how unique, no matter how clear they might be, can’t really protect your accounts?
Gone are the days when you can rely on a strong password to protect your accounts.
Hackers are getting smarter and more sophisticated these days, using all kinds of techniques to steal passwords and login information online. And phishing is one of the most popular methods used to trick users into entering login credentials at a fake website. You’ll be surprised those fraudulent sites might look (exactly) the same as the official ones from its appearance.
As Bitcoin transactions are final and irreversible, it’s (almost) impossible to retrieve any fund stolen once your account has been compromised.
Benefits of Activating 2FA
- Protect your account even if your password is stolen or broken.
- Improve your account security
- Reduce the risk of identity theft
Here’s how it works:
Once you enter your username and password on your crypto exchange, you’ll need to enter a One-Time Password that’s sent to your mobile phone to complete your login process.
Once you have activated 2FA, you must provide a OTP to gain access to your account.
One-Time Password (OTP) is 6-digit code generated every 60 seconds mobile app such Google Authenticator or Authy. Each OTP can only be used once.
How do I set up 2FA with Google Authenticator
As of now, one of the easiest and most practical ways to set up 2FA is using Google Authenticator mobile app. And it’s available for free of charge.
The whole process of setting up 2FA will take only a few minutes.
In this tutorial, I will walk you through the process of setting up 2FA with Google Authenticator. For ease of understanding, I’m going to use Binance as an example exchange. You can simply repeat this same procedure to any of your exchange accounts. The process is pretty much the same across all the cryptocurrency exchanges.
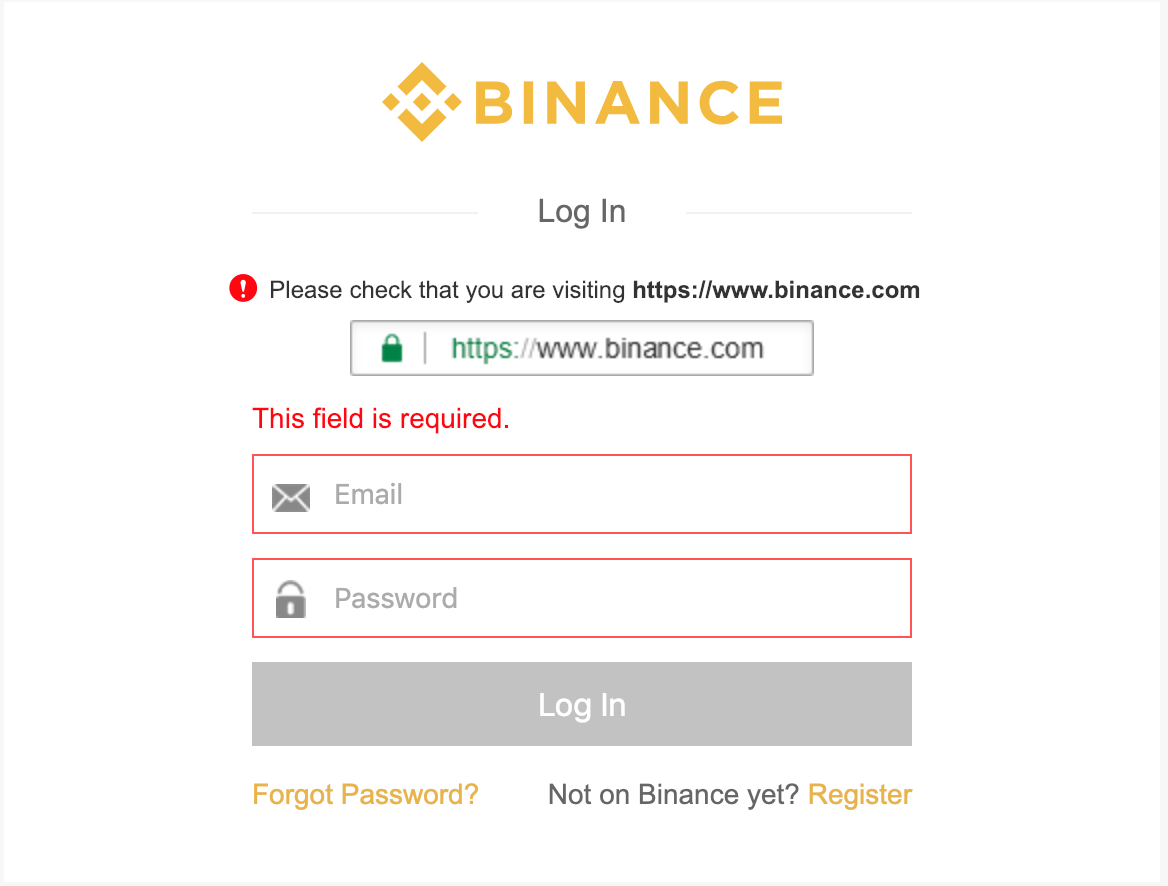
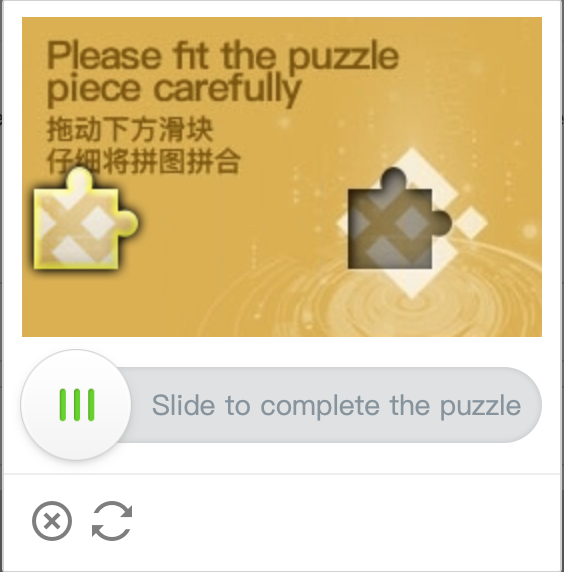
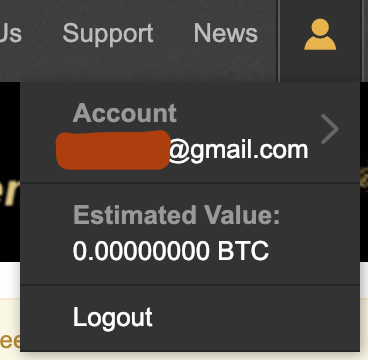
1. Login to your exchange, for example Binance. Enter your username and password and click “login” to proceed.


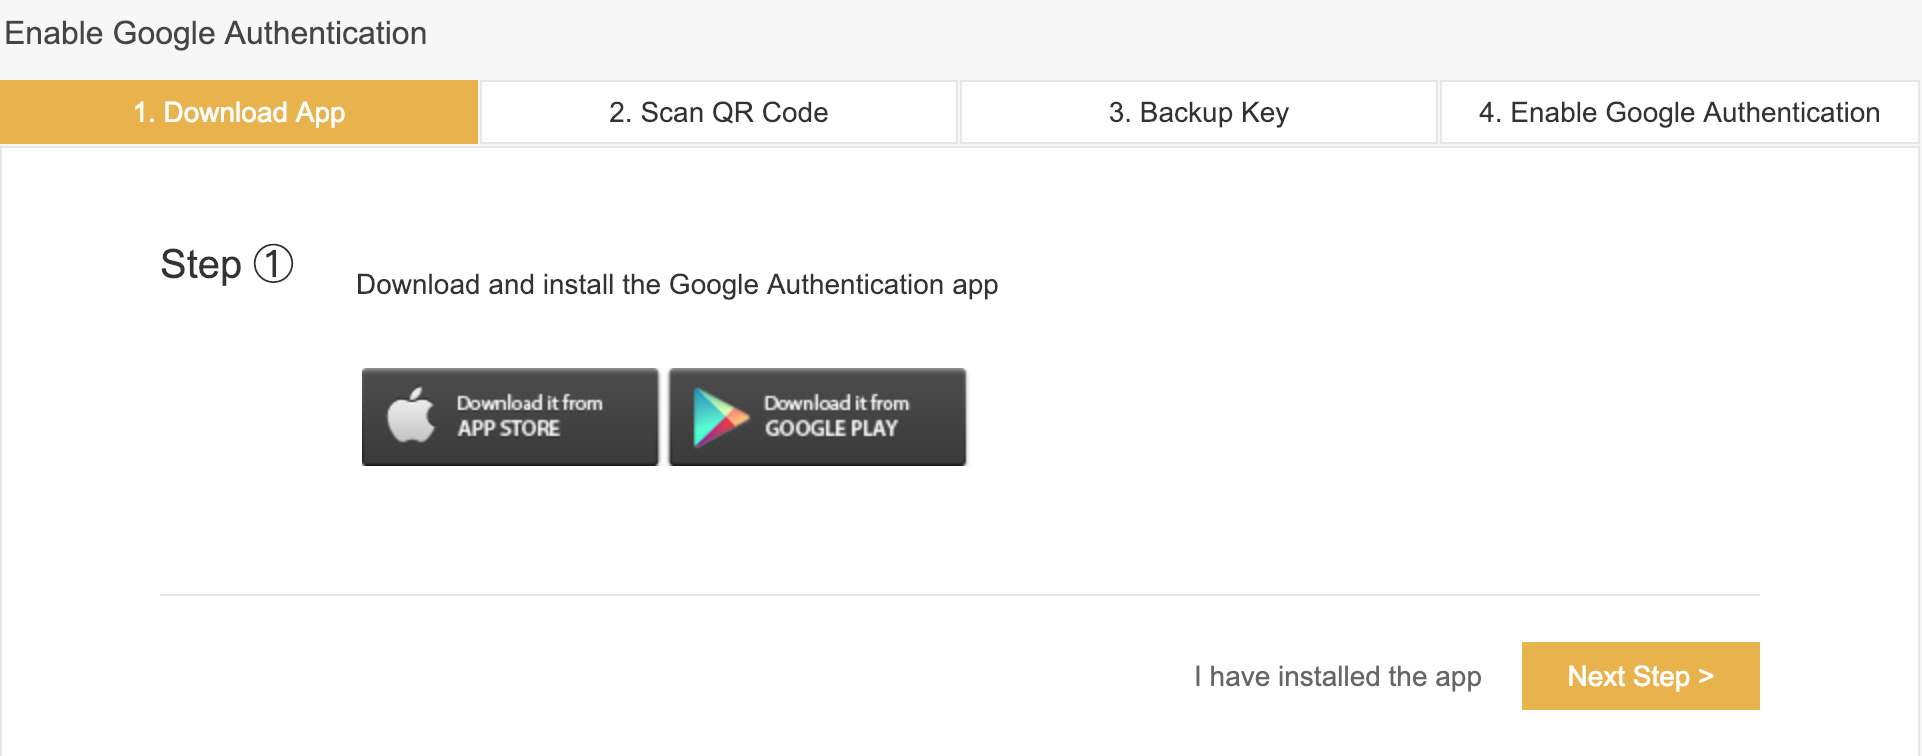
(i) Download app: To get started, take your smartphone, go to your app store (Iphone/ Android) to download Google Authenticator app. Once you’ve installed the app, click “Next step”.

(ii) Scan QR code: On the second page, you’ll see a QR code. Open the installed Authenticator app in your mobile phone to scan the QR code.
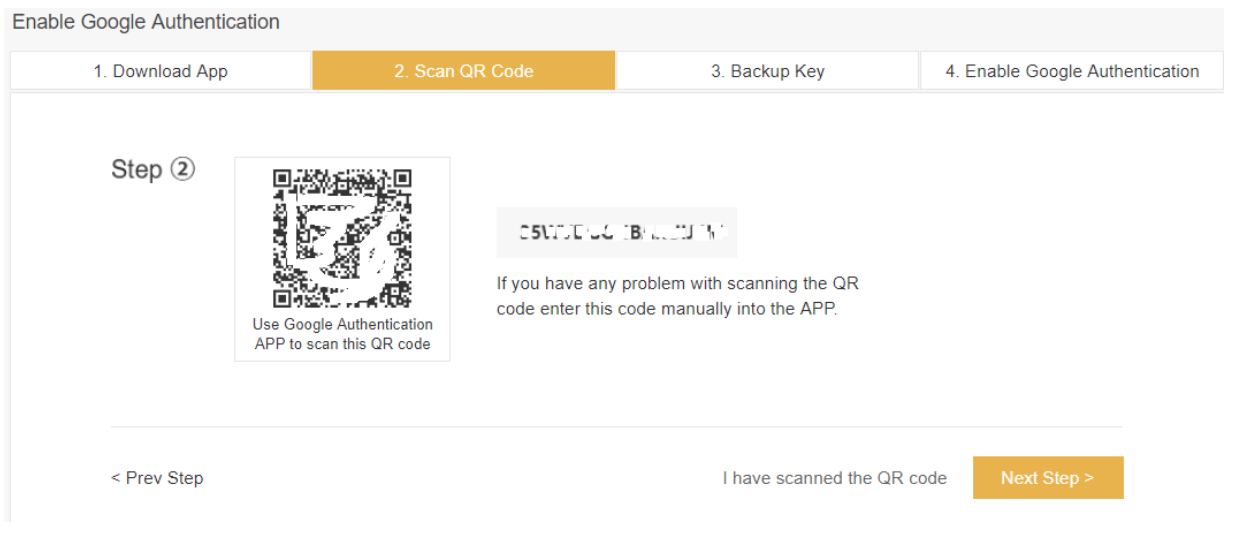

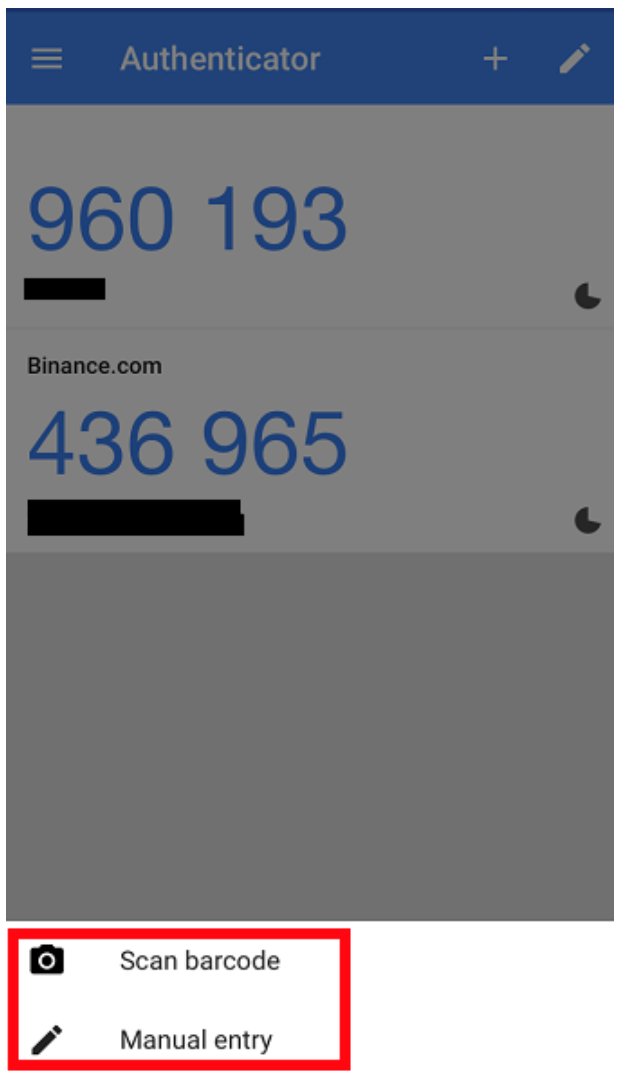
- If you’re unable to scan the QR code, click “manual entry” to enter ‘2FA 16-digit key’ displayed on the ‘Enable Google Authentication’ page.
- Once the new account is created on the app, you can see your Binance account together with a 6-digit number inside your Google Authenticator.
- This 6-digit code is the 2FA which you need to enter while logging into exchange account.

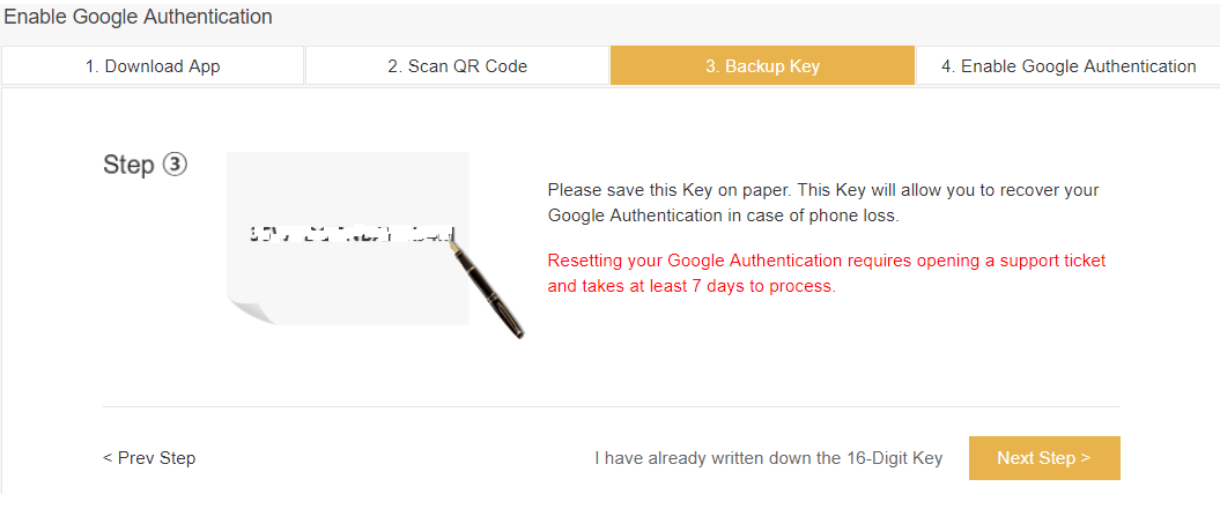
(iii) Backup Key: This is a very important step where this 16-digit is the key to recover your account if you lose your handphone. Write the key on a piece of paper and keep it somewhere safe. Once you’ve done, click “Next Step”.

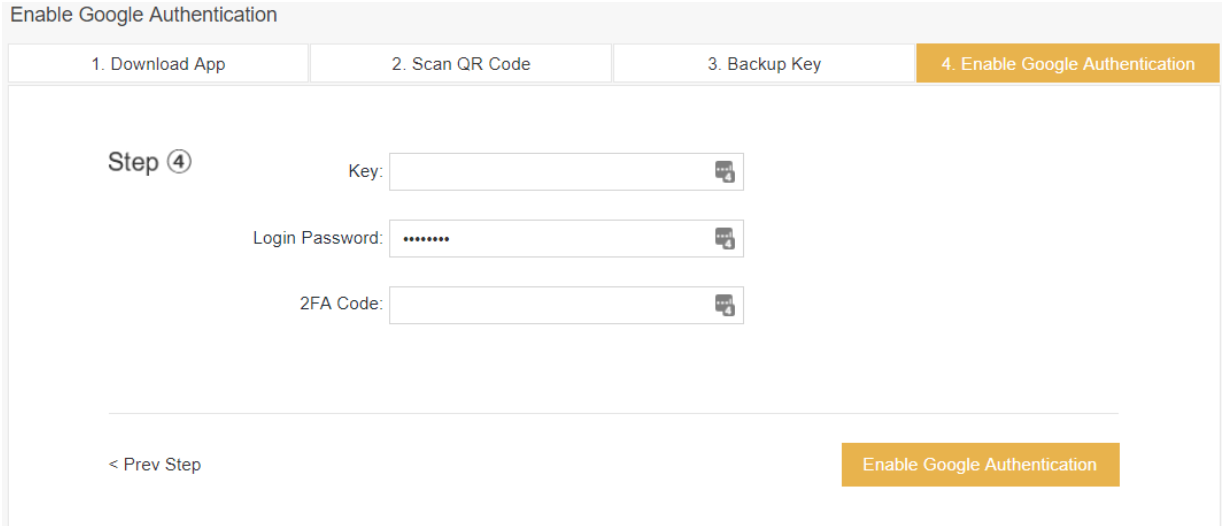

Login password: The password you use to login to your Binance account.
2FA code: A 6-digit number generated on the Google Authenticator mobile app.
Next, click “Enable Google Authentication”.
7. That’s it. Now you’ve successfully set up 2FA using Google Authenticator.


The process is pretty simple and straightforward.
Open the Google Authenticator app on your handphone, look for “Binance” on the list of accounts and enter the given 6-digit code on the exchange and click “Submit”.
What if I Lose my Phone?
No worries. In case your phone is lost, stolen or damaged, you still can use the 2FA backup key to recover your account.
This is because you can use the 2FA secret key to recreate Google Authenticator in your new handphone. Here’s how you can do it:
- Download and install Google Authenticator App in your new phone
- Launch Google Authenticator app, click “+” to scan QR or manual entry 2FA secret key that you’ve saved.
- Done. Now your Google Authenticator code is restored.
In most exchanges, during setup, you’ll be given a backup key. Personally, I would avoid using exchange that doesn’t provide this 2FA backup seed.
It’s is very important that you write down the backup password correctly on a paper and stored it securely. Keep it at a place where only you’ll be able to find it but not anyone else.
Don’t save it on Google docs or anywhere in your computer which is highly susceptible to hacking.
And don’t skip this backup step– however simple it may seem!
If you don’t have the 2FA backup key and your phone is lost, you won’t be able to recover your account. In another word, your entire cryptocurrency portfolio will be locked forever in the exchange with no possible way to access.
Conclusion
Now you should understand the importance of setting up 2FA for all your exchange accounts and the exact way to do it.
By setting 2FA using Google Authenticator, you’ll be able to protect yourself better than most participants in the markets.
Also a cliche to say, it’s better safe than sorry.
You absolutely don’t want to lose your cryptocurrency investment simply due to your own personal negligence and bad security practices.
Action: Immediately activate 2FA on all your exchange accounts after reading this post.
Always be safe!
Do you have any problem or question following this tutorial to activate 2FA with Google Authenticator? Feel free to comment below
Here’s something related that you can read next:
- How to Secure Your Cryptocurrency: Cold vs Hot Wallet
- Crypto Hardware Wallet: How to Setup a Ledger Nano S
- Crypto 101: The Ultimate List of Cryptocurrency Resource
- How to buy Bitcoin and other Cryptocurrencies
- 7 Best Web Hosting Services that accept Bitcoin and Altcoins
- 7 Best Cryptocurrencies with High Potential
I live and breath making an income online.
I’ll be sharing more of ideas and guides soon. Stay tuned.
If you haven’t already, sign up here to receive my emails and a free magazine subscription.