


Now that you’ve your website up and running, it’s time to start growing your website. To truly know how successful your website is, you’ll need to track your website metrics and data.
The best way to know how your visitors interact with your website is through your web stats and traffic. You can easily do that with the help of Google Analytics.
What Is Google Analytics?
Google Analytics is the most popular and free website analytics tool that provides enormous streams of data to improve your small business.
Google Analytics allows you to track your website analytics such as
• How much traffic your website gets
• Who is visiting your website
• What pages are they looking at
• How do people find your website
• Where your traffic is coming from
This detailed reports can help you better understand your audience, make important decisions and find a new solution to sell more products, grow your email list and much more.
How to Add Google Analytics to your WordPress Blog
Step 1: Sign In to Google
You’ll need a Google account to add Google Analytics to your website.
To do this properly, you might want to use a separate Gmail account, especially for your blog.
If you don’t already have one that you’re comfortable using for your website, you can create a new account here.
If you already have a Google account, then you can use that to sign-in.

Step 2: Sign Up for Google Analytics
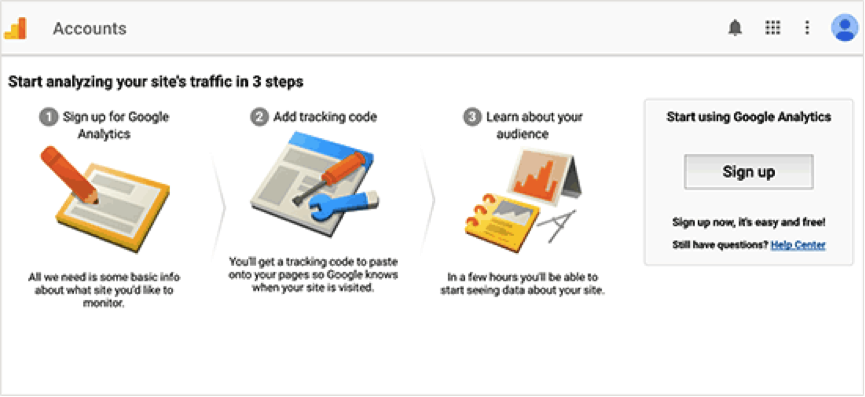
Once you’ve signed in to your Google account, go to Google Analytic page. You’ll come to a page like this.


At the top right corner of the page, click “Sign in” and choose “Analytics”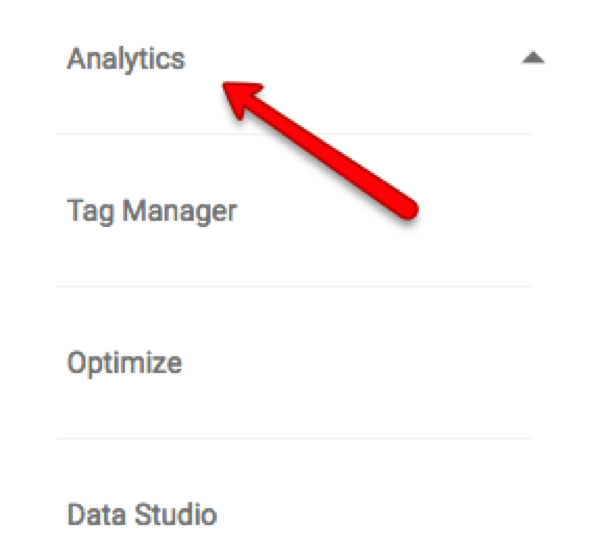


At the top of the page, you can see there are two options given: Website and Mobile app. Google analytics works for both website and mobile apps but the tracking method is different.


In this tutorial, we want to set up for a website, so make sure you select “Website”.
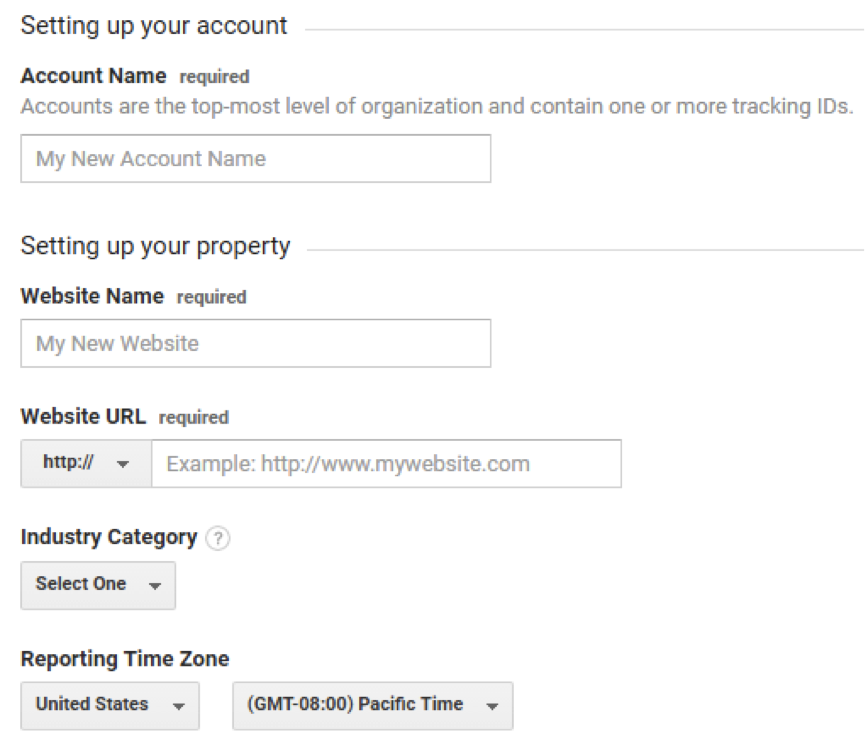
Next, you’ll need to enter a name for your Google Analytic account and enter your website name, URL, category, country and your time zone.

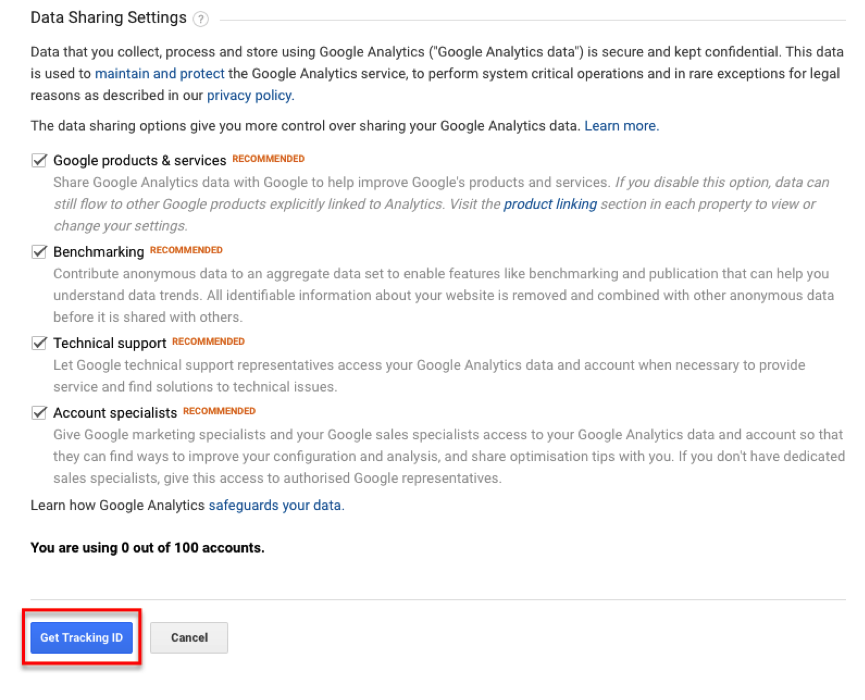

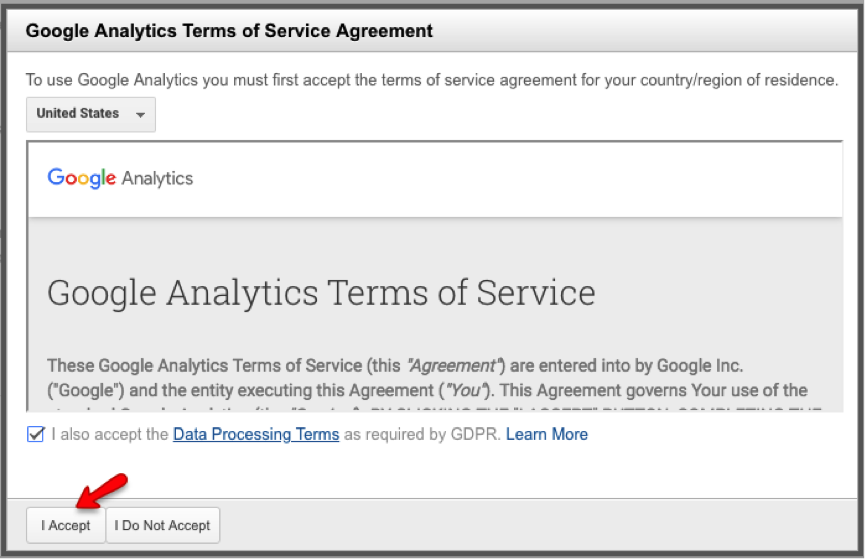
Then, a popup window will appear for you to review the Google Analytics terms of service. You must agree to the terms in order to proceed, so click on “I accept”.

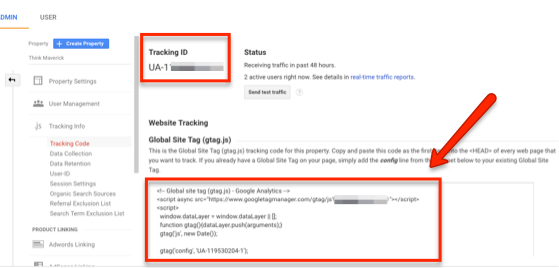
You’ll be given a Google Analytics tracking code. You might need to paste this tracking code into your WordPress site if you’re using method 2 below.

Step 3: Install Analytic code on website
There are several different ways to install the analytic code on your WordPress site.
I’m going to show you two easy methods:
(a) Google Analytics by MonsterInsights plugin
(b) Insert Headers and Footers plugin
Method 1: Google Analytics for WordPress by MonsterInsights
If you’re using WordPress, one of the best ways to install analytic code on your site is using Google Analytic by MonterInsights, formerly known as Google analytics by Yoast.
MonsterInsights offers both free and Pro version. In this guide, we’ll be using the free version.
If you’re running a WooCommerce or looking for more advanced features like Author tracking, ECommerce tracking etc, you’ll need to use MonsterInsights Pro.
If you’re selling products online, check out this article and learn how to set up MonsterInsights Enhanced eCommerce tracking on your WooCommerce store to boost your revenue.
The setup process for both versions is the same.
Without further ado, let’s get started.
First, you’ll need to install Google Analytics by MonsterInsights plugin.
If you haven’t installed this plugin yet, follow our step by step guide on how to install MonsterInsights plugin below:
1. Log in to your WordPress dashboard.
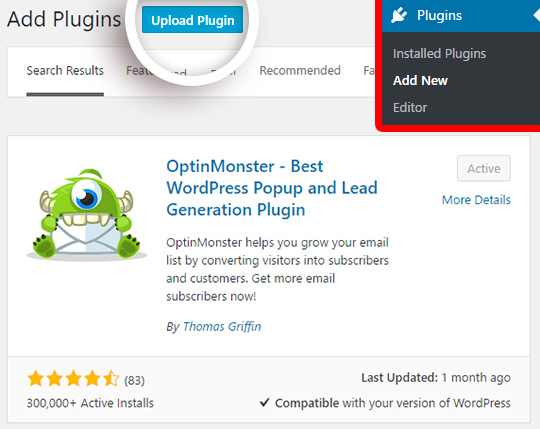
2. Click “Plugins” and select “Add New”.
3. Find the plugin by typing name “MonsterInsights” in the search box.
4. “Google Analytics by MonsterInsights” will appear in the top results for the keyword search,
5. Click “Install Now” and activate it.

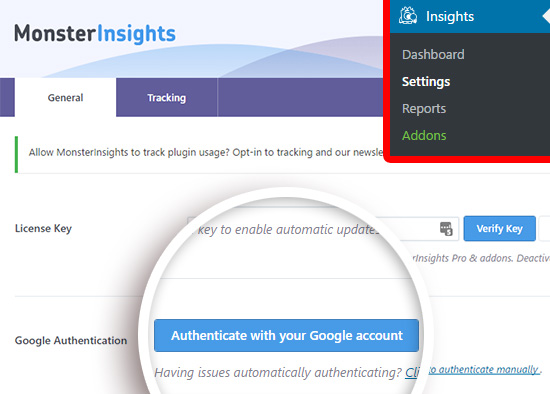
Next, click Insights > Settings. To connect Google Analytics with your WordPress, you’ll need to click “Authenticate with your Google account”. By doing this, Google will be able to collect information about your site visitors.

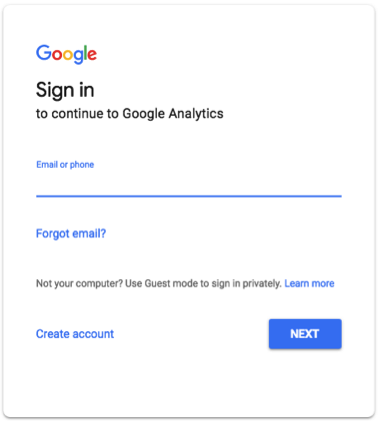
You’ll be directed to a Google login page where you’ll be asked to sign in to your Google account.


Log in to your Google account and click “Next” to continue.
To give permission for MonsterInsights to access your Google Analytics account, you’ll need to click “Allow”.


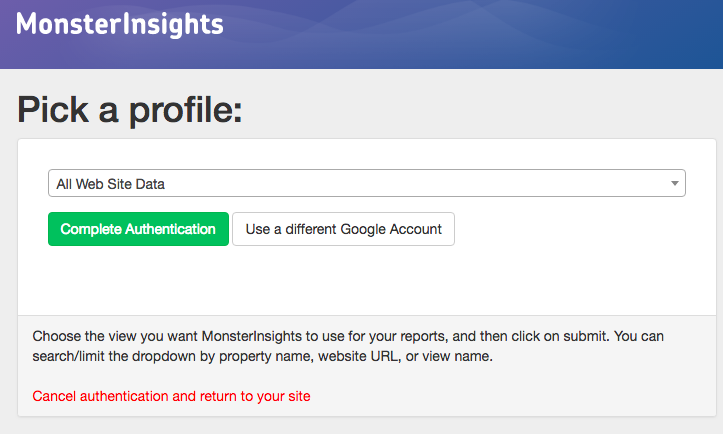
In this final step, you’ll need to select the profile/ website you want to track. Once you’ve selected your website, click “Complete authentication”.

That’s it! You’ve successfully setup and installed Google Analytics on your WordPress site.
It will take some time before Google Analytics start showing your stats.
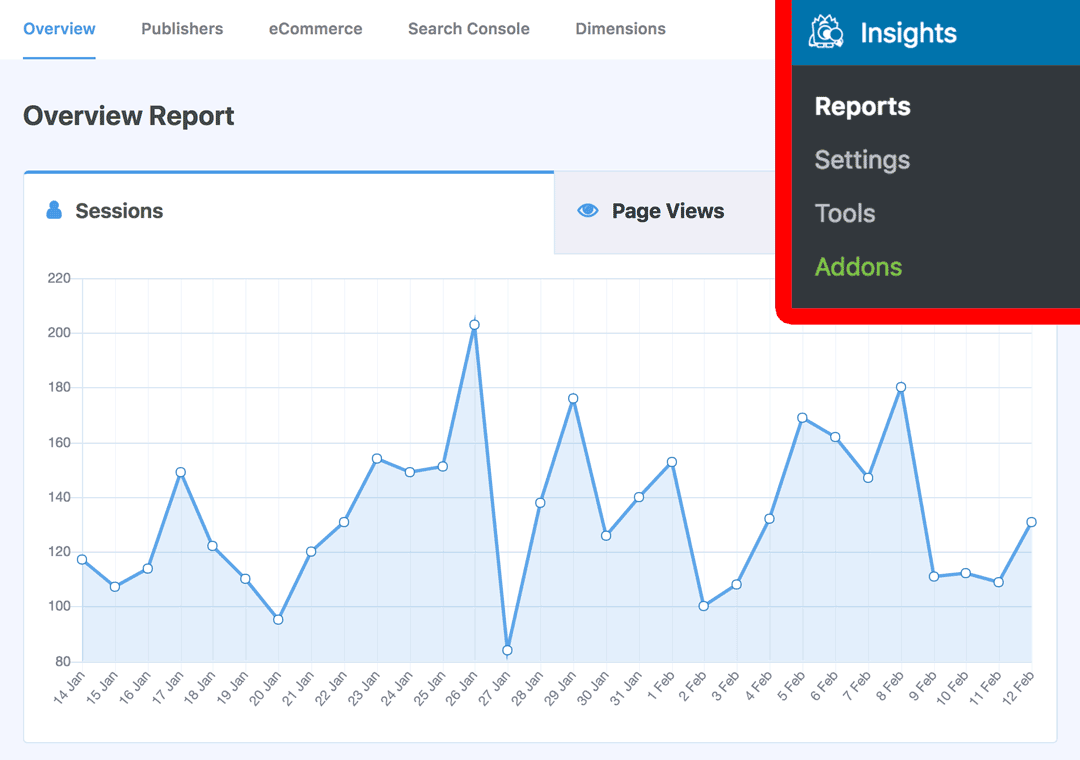
The most amazing aspect of MonsterInsights is that you can view your analytics report Inside your WordPress dashboard. On your sidebar, click “Insights” >“Report” to have a quick overview on your analytics data.

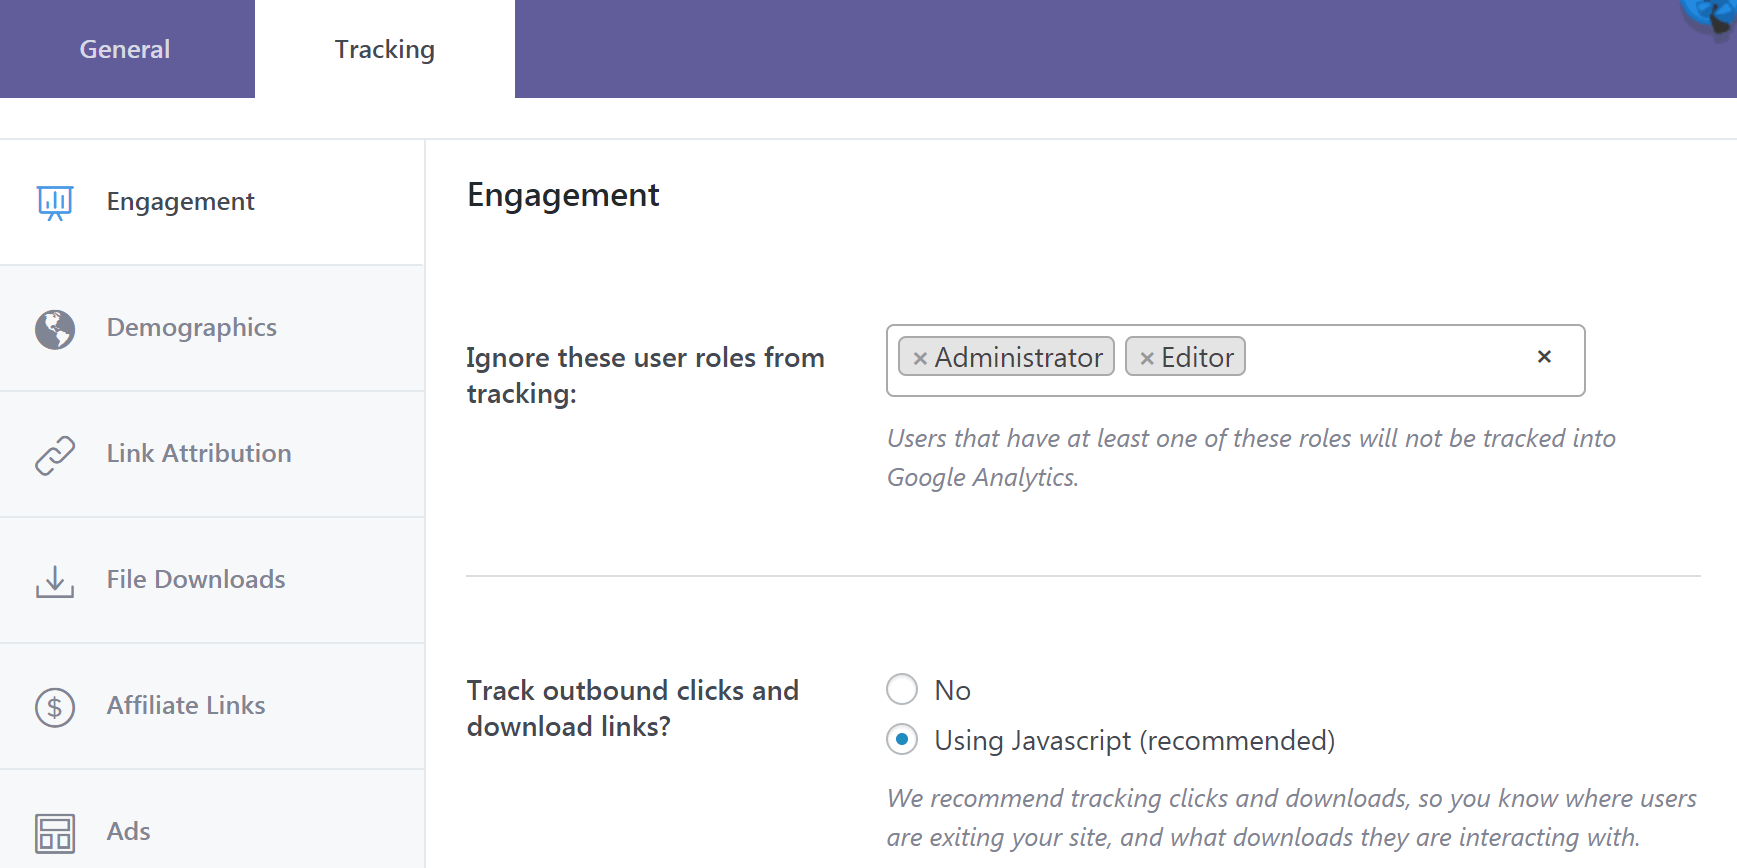
Note: Under the Tracking tab, you can customize a few additional tracking settings according to your needs.
The default settings for “Ignore these user roles from tracking” is administrator and editor. This means that whenever WordPress user with the role of administrator or editor log into the website, they will ignore you as a visitor and will not send data to Google Analytics.

Method 2: Insert Headers and Footers Plugin
For method 2, we’re going to use Insert Headers and Footers plugin. It’s a simple plugin that allows you to insert code like Google Analytics to your WordPress site, without the need to edit your theme.
Compared to MonsterInsights, you can’t see your Google Analytics report in your WordPress dashboard and you won’t be able to do any advanced tracking. But it’s a very useful plugin if you just want to add your Google Analytics to your WordPress site,
To get started, you’ll need to install and active Insert Headers and Footers plugin.
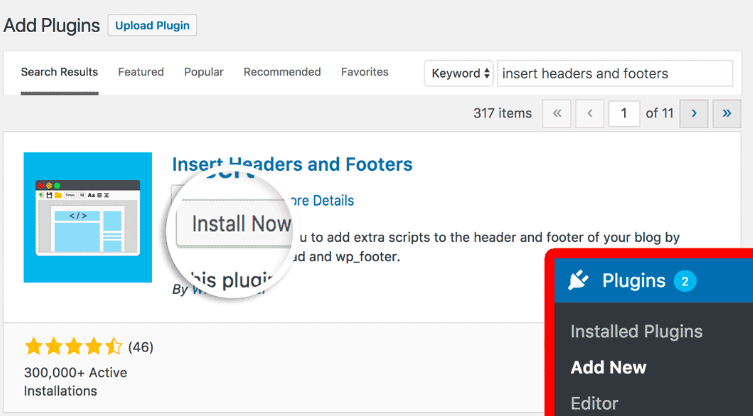
If you haven’t installed this plugin yet, follow our step by step guide on how to install Insert Headers and Footers plugin below:
- Log in to your WordPress dashboard.
- Click “Plugins” and select “Add New”.
- Find the plugin by typing name “Insert Headers and Footers” in the search box.
- “Insert Headers and Footers” will appear in the top results for the keyword search,
- Click “Install Now” and activate it.

Once the plugin is activated, go to “Settings” and click “Insert Headers and Footer”.
Now you’ll need to copy and paste the Google Analytics code given in step 2 into the headers box. Remember to click “Save”.
That’s. You’re all set.


Google Analytics Reports
Google Analytics will show you important data collected from your web stats. You can view this in-depth analysis in your Google Analytics dashboard.

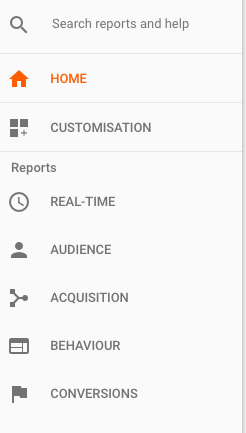
Under the reporting tab, you can see that there are few options:
- Real-Time shows you how many visitors are on your blog and the pages they are reading now.
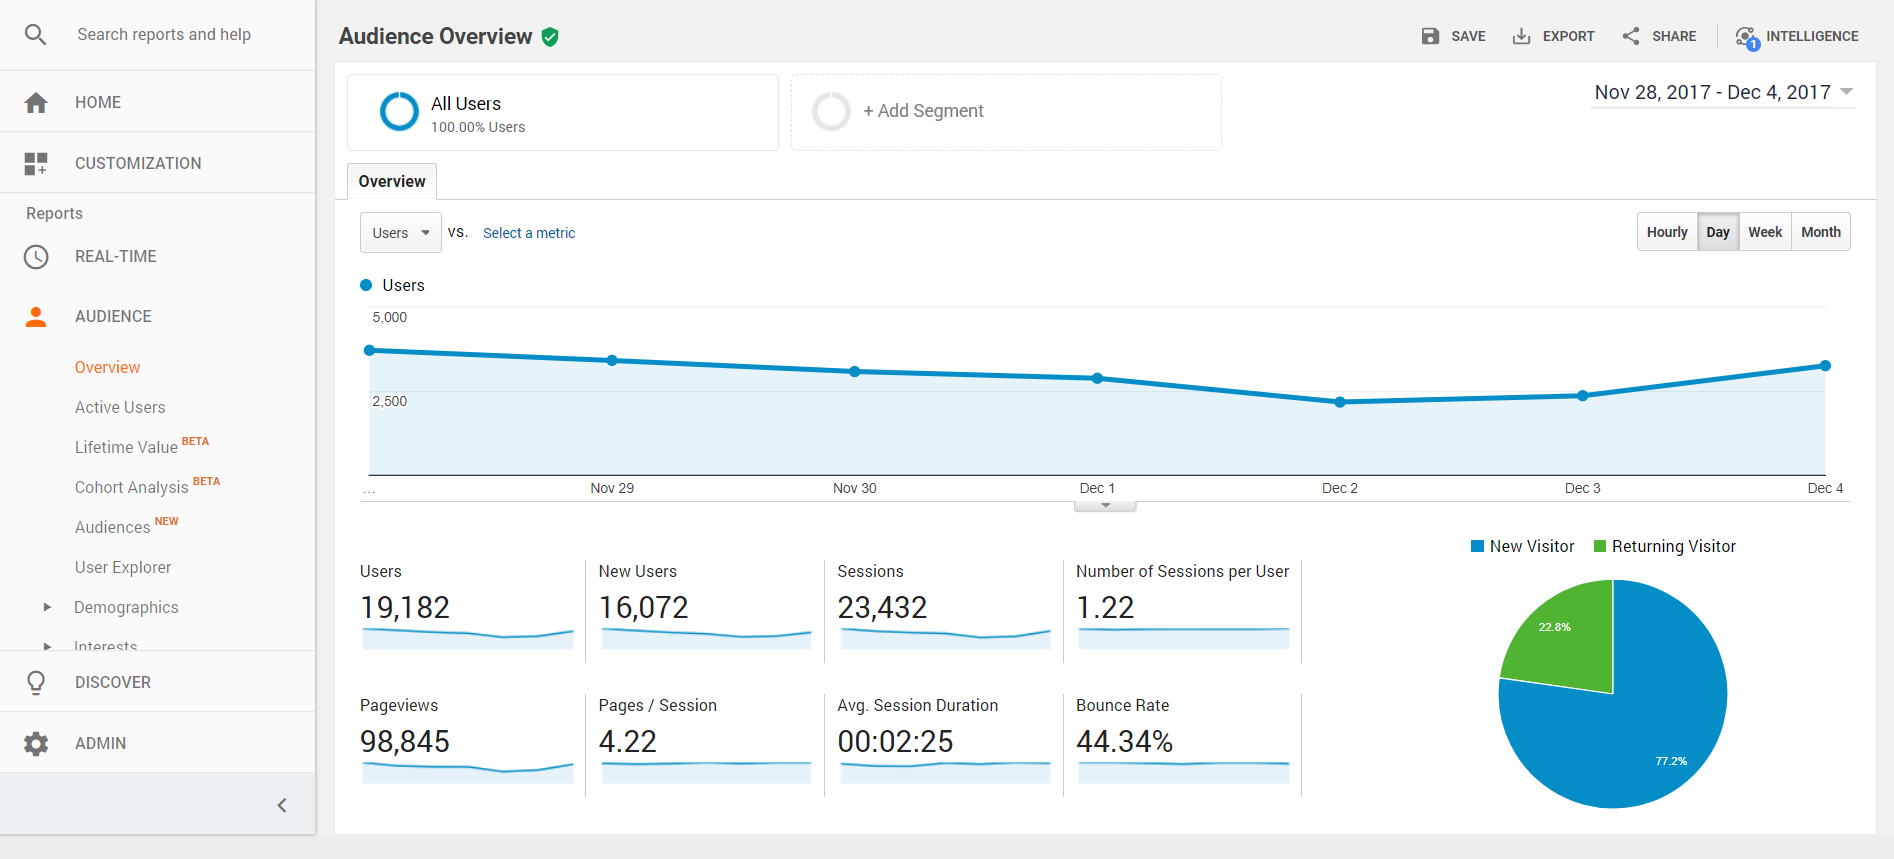
- Audience reports will help you understand your visitors.
- Acquisition reports show you where your visitors are coming from.
- Behavior reports let you track the performance of your content and evaluate the actions of your visitors.
- Conversions reports summarize your performance against your goals.

Conclusion
Google Analytics is a must-have tool in managing your WordPress blog. It will help you understand what your audience wants from you and thus improve your site’s performance.
Do you have any problem or question following this tutorial to set up Google Analytics on your WordPress site? Feel free to comment below.
I live and breath making an income online.
I’ll be sharing more of ideas and guides soon. Stay tuned.
If you haven’t already, sign up here to receive my emails and a free magazine subscription.