


Then this blog post is for you.
Although Google Adsense is one of the most popular ways to make money online, it’s definitely not the easiest or fastest way, especially for a new blog.
If you’re just starting out, I’d recommend you check out this 5 proven ways to monetize a blog that generates under 1,000 visitors per day.
Why? You ask.
Because you need fairly large numbers of visitors to start making a decent amount of money with Google Adsense.
I just hit the minimum payout threshold (≥ $100) and received my first payment from Google Adsense after ONE year!

As you can see, it takes times and effort to make more than a few pennies. But it can pay off handsomely in the long run once you have a ton of blog traffic.
With that said, it’s always a smart move to set up an Adsense account sooner rather than later. So you can implement it right away on your site, focus on creating awesome content, grow your traffic and wait for the money to roll in, patiently.
In this article, I’ll show you exactly how to create an AdSense account for your website with easy-to-follow screenshots and step-by-step written instructions.
What is Google AdSense
Before we get started, it’s important to understand the basics of Google AdSense and how it works.
Adsense is a program run by Google that allows publishers, bloggers and website owners to earn income by displaying ads.
There are two main ways that you can make money from Google Adsense:
- Impressions– the number of time your ad is viewed by visitors on your website.
- Clicks– how many users click on your ad.
Important: Don’t ever click on your own Adsense ad or ask someone to click on your ads. Else, you may get your account banned for life, simply because it’s against Adsense program policy.
Are you ready to join Google Adsense?
Before signing up for Adsense, you’ll need two things:
- A website or blog with your own original content
- A Google Account
Note: You must be above 18-year-old. If not, you may get help from a parent or guardian and apply for Adsense using their Google Account.
Guide to Create an AdSense Account
It’s pretty easy to apply for an Adsense Account. Here’s how the Adsense application process goes:
- Make sure your website/blog is compatible with Google Adsense.
- Sign up for an Adsense account
- Add Adsense code to your website/blog
- Wait for your account approval. Adsense will review your account which takes up to 2 weeks.
- Enter your Adsense Pin and start receiving your ads revenue.
Without further ado, let’s get started.
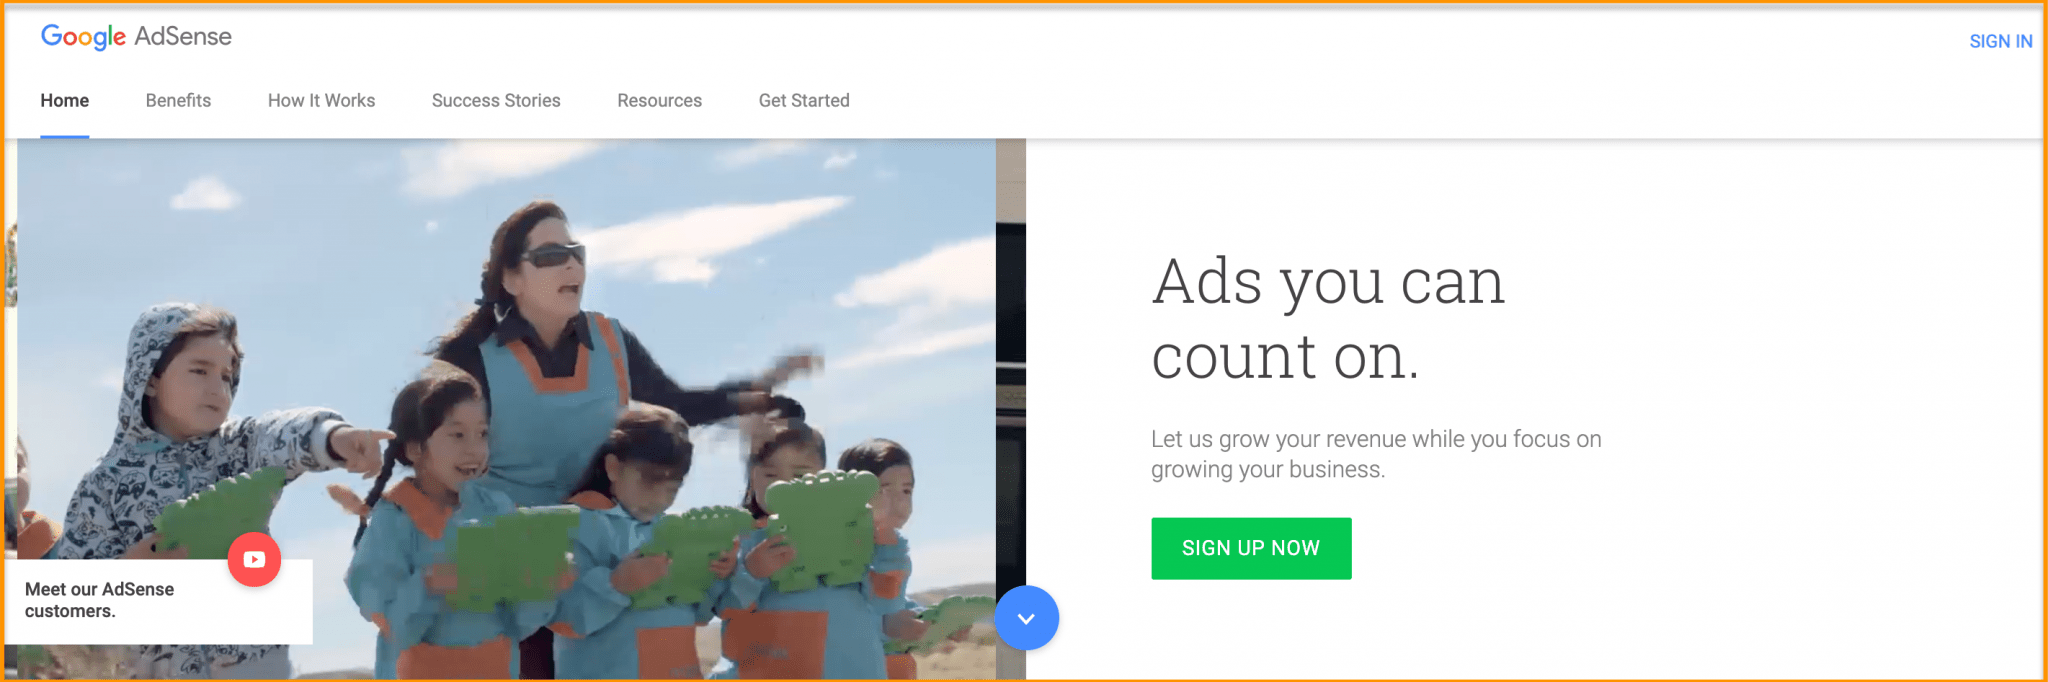
1. Sign up for Adsense
Go to Google Adsense page and click “Sign Up Now” to create an account.

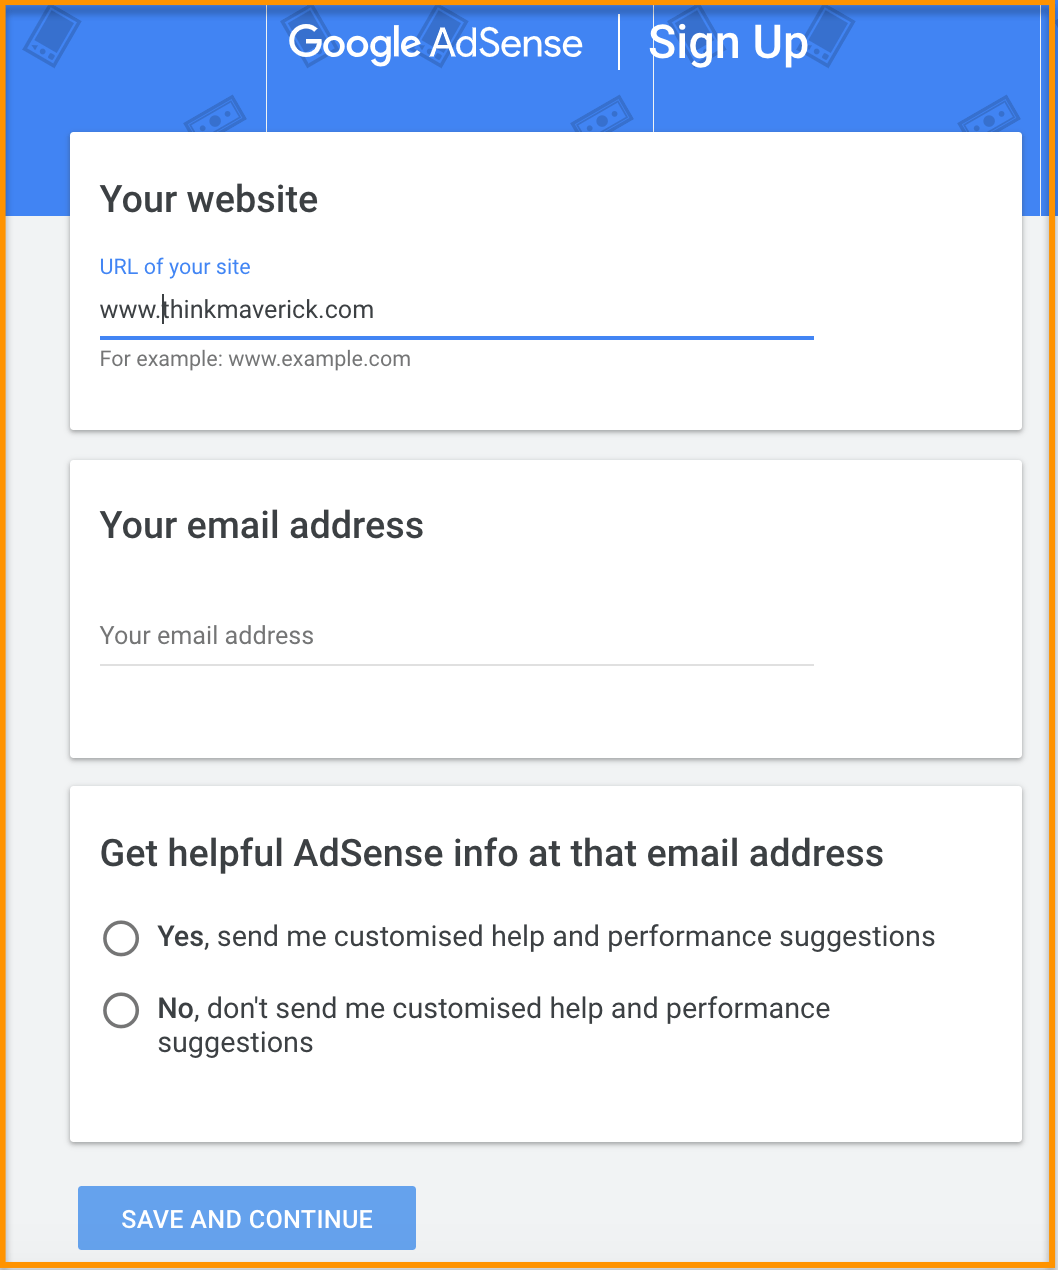
2. Complete Adsense application form
Next, fill up the form with your information:
- Enter website URL that you want to show ads on. Do NOT add https:// in front of your URL. For example: www.thinkmaverick.com.
- Email address
- Choose whether you want to receive any Adsense info at your email address.
Then, click “Save and Continue” to proceed.

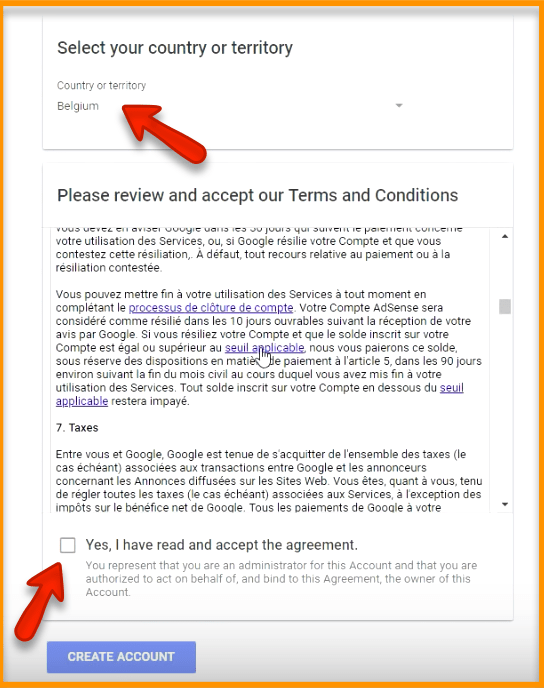
On the next page, you’ll have to select your country.
Agree to their terms and conditions and click “Create Account” button to complete your application.

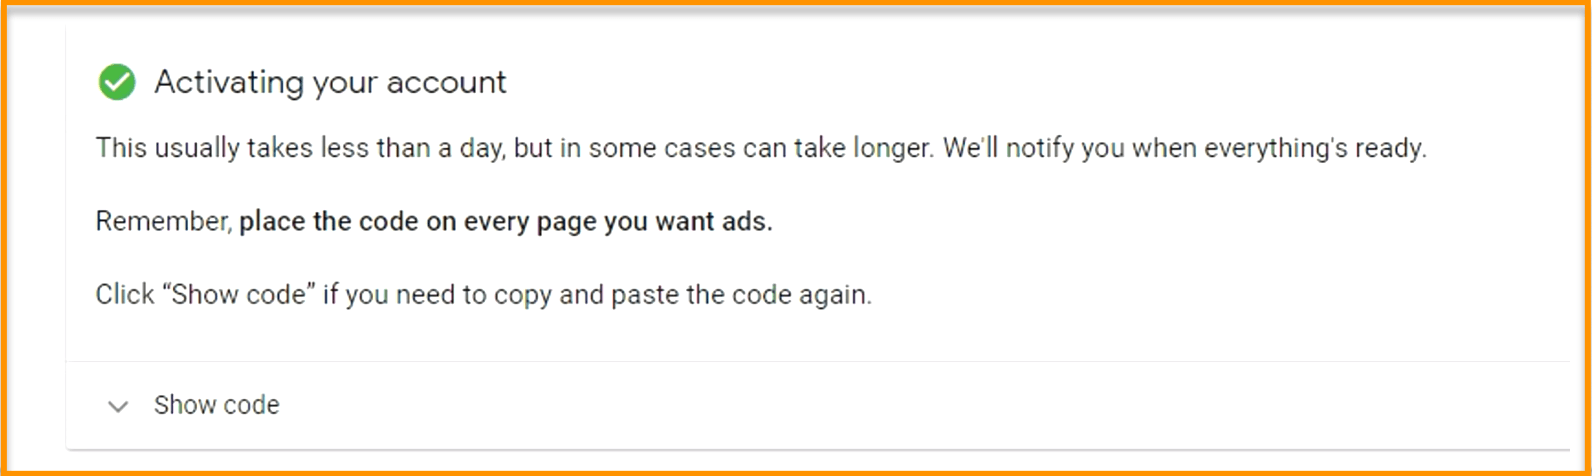
3. Activating your Adsense Account
Once you log in to your new Adsense account, you’ll notice that some of the options on the left sidebar are grayed out. Because at this point, your account is not fully activated yet.

To activate your Adsense account, you’ll need to complete the following steps:
- Add Adsense codes to your blog
- Provide your payment address details
- Verify your phone number (Not required in all countries.)
(A) Add Adsense codes to your blog
Copy and paste the code given into the HTML of all pages where you want ads to show or into your site’s header (by using a plugin such as Insert Headers and Footers).
While your account is under review, ads will show as blank until your account is approved.

Here’s an example HTML page with the code added:
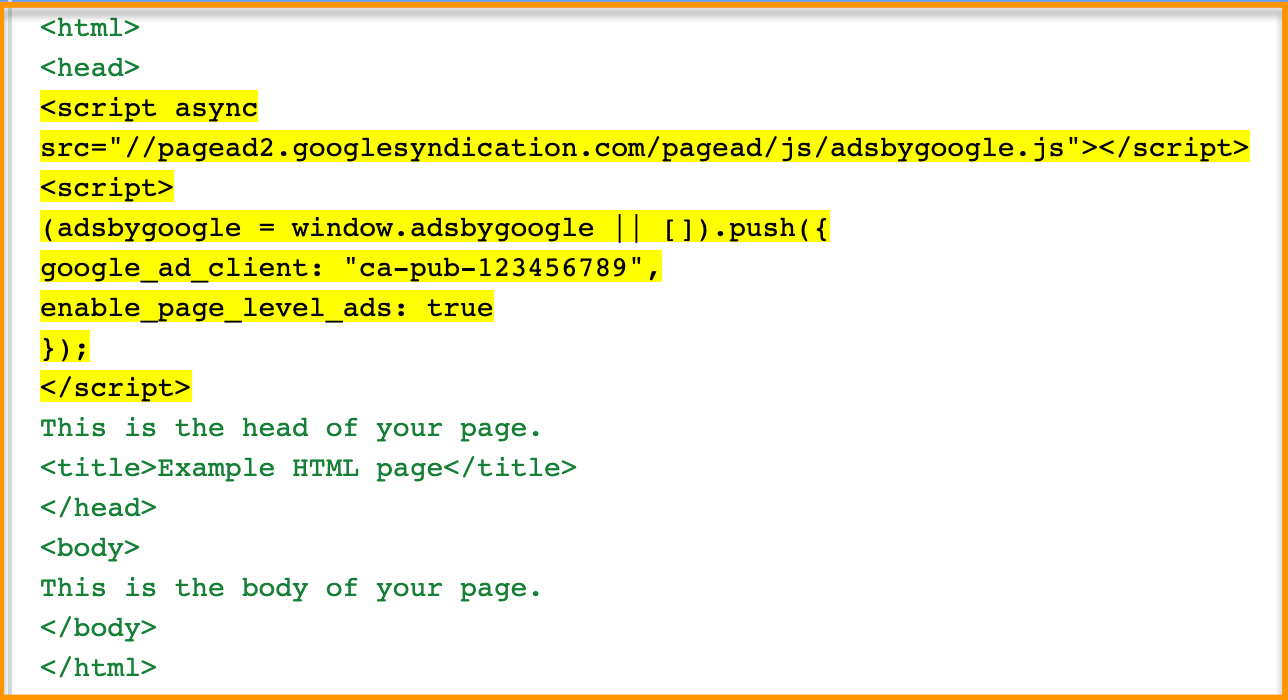

Note: Make sure you paste the code between the <head> and </head> tags
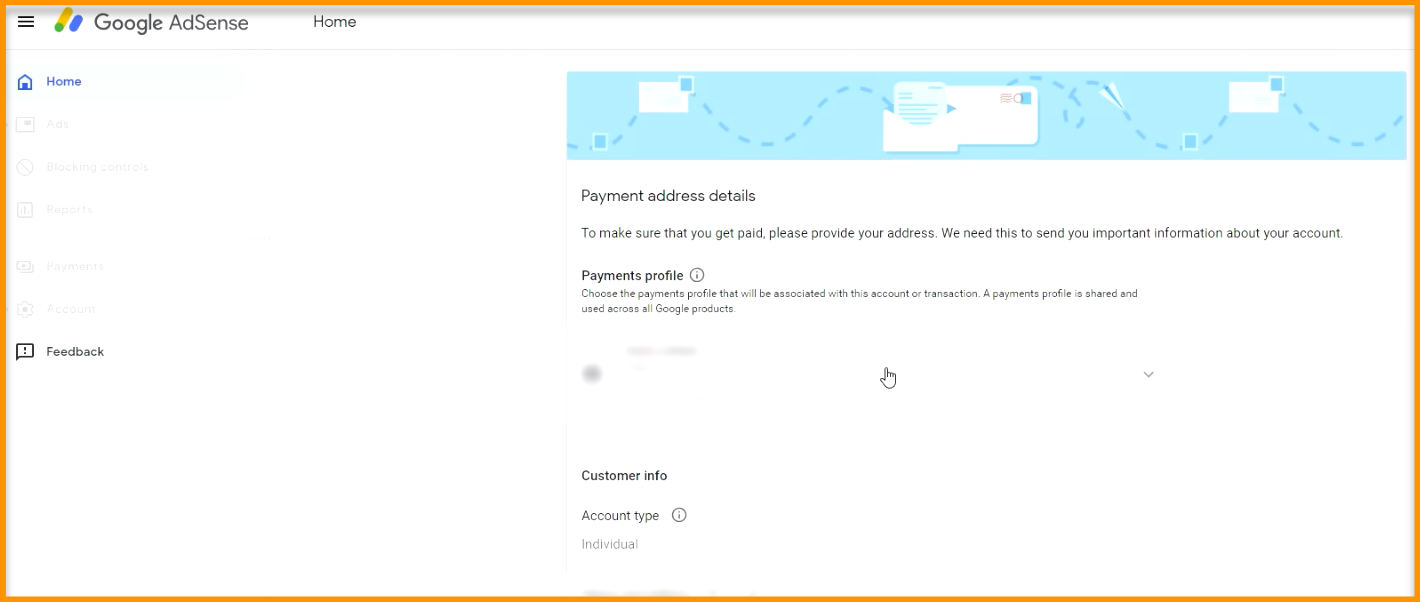
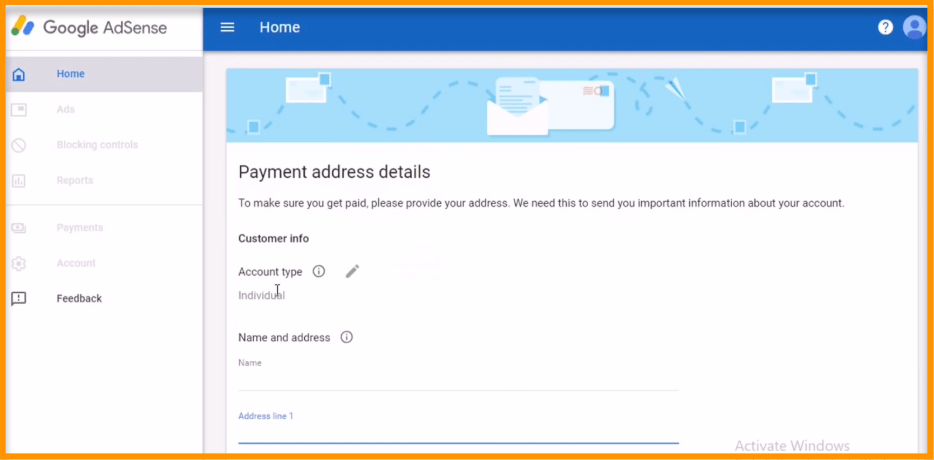
(B) Provide your payment details
Enter your payment address, full name and phone number.
Make sure you enter your the full postal address correctly so you can get your Adsense PIN (explained in step 5 below) in order to get PAID!

If you see a note on your homepage, then you will need to verify phone number by entering a verification code.


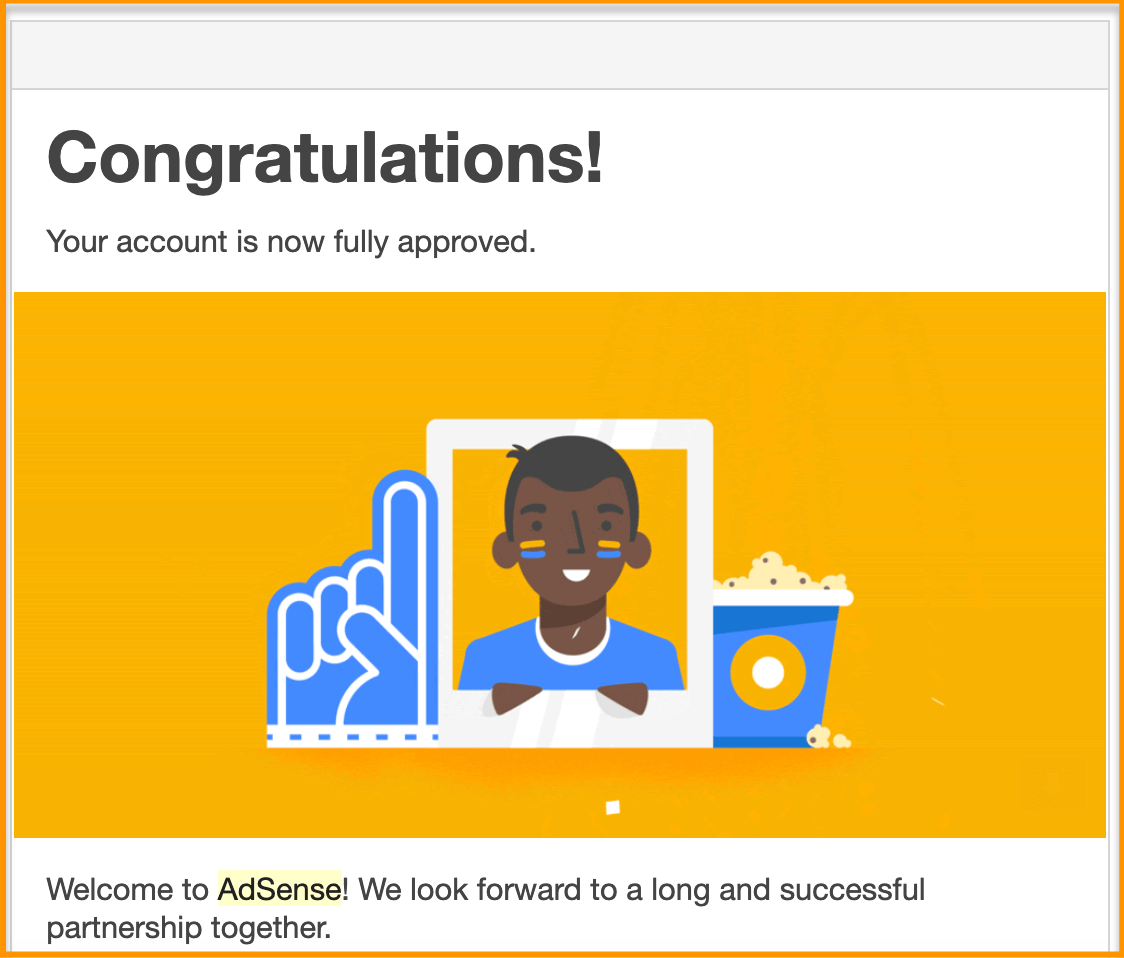
4. Wait while the Adsense team review your application. You’ll receive a confirmation email once it’s approved.

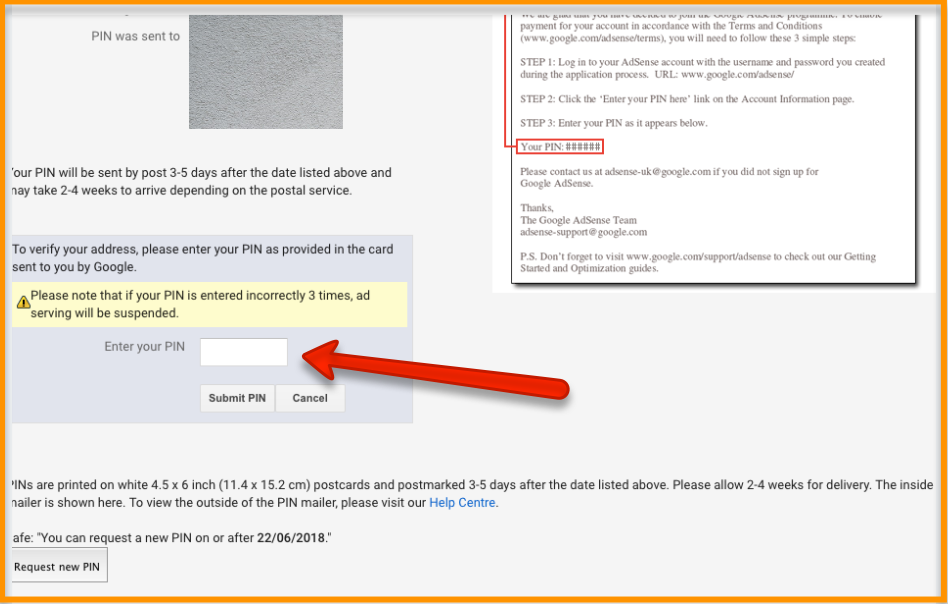
5. Enter the AdSense Pin
Adsense will automatically mail you a PIN to your physical address once your earning reaches $10.
Log in to your Adsense account and enter your PIN when you receive it.
One last thing you’ll need to do is submit your tax information.
That’s it. You’ve completed all the steps for activating your Adsense Account.
You’ll get your first payment from Adsense once you reach the threshold of $100.

The fastest payment method is using bank transfer. Go to your Adsense homapage> Payments> Payment Methods > Add payment method, enter all your bank details so you can easily receive your earnings.
Conclusion
So there you have it! By now you should know how to create an Adsense account and get your account approved!
Do you have any problem or question following this tutorial to create your account with Adsense? Feel free to comment below.
If you do not have a blog, follow this step-by-step guide and launch your own self-hosted website in less than15 minutes. I’ll show you everything you need to do to start a successful money-making blog.
Once your blog has more than 10,000 visitors a month, sign up for Ezoic to boost your Adsense earning for absolutely FREE! Check out how I increase my Adsense ad revenue x1000x almost instantly with Ezoic here.
If you’re looking for more ways to monetize your blog, affiliate marketing is a great start!
I’ve handpicked a few articles for you to read next:
- How to monetize your blog with Affiliate Marketing
- How to make money with ShareASale Affiliate Program
- Amazon Affiliate Program: Ultimate Guide for Beginners
- How to make Passive Income by selling Information Products
- 5 proven ways to monetize a blog that generates under 1,000 visitors a day (#3 is my favorite)
Last but not least, if this post was of any help to you, please share it on Facebook, Twitter and Pinterest!
A quick share from you would seriously help other bloggers to make money online as well as help the growth of this blog.
Thank you so much!
I live and breathe making an income online.
I’ll be sharing more of ideas and guides soon. Stay tuned.
If you haven’t already, sign up here to receive my emails and a free magazine subscription.
Here’s a list of best resources and tools for your blog! I use them to manage, optimize and grow my blog. I’m sure they’ll help you as much as they’ve helped me.